In this article, we will guide you through the steps of setting up your Sonic XL 4K 2022 LCD 3D printer before you get started with printing out your dental 3D models.
- Install the handle
- Insert the WiFi adapter
- Connect the power cable
- Turn on the printer
Install the Handle

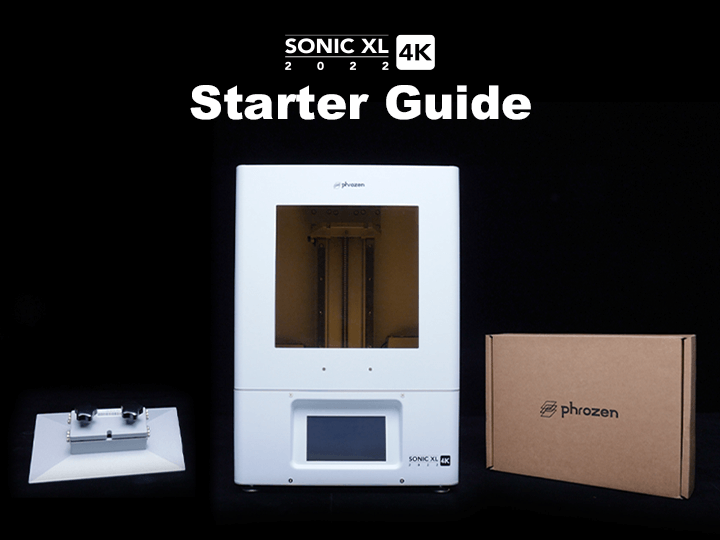
In the toolbox, 1 door handle has been included. Please screw in the door handle before you begin printing.
Setting Up the 3D Printer

Before turning on the 3D printer, there are a few steps to follow:
- Insert the WiFi adapter on the back of your Sonic XL 4K 2022 3D printer. You can connect to the Phrozen OS to adjust your resin profile and print via the Ethernet.
- Plug in the power cable located at the back of the Sonic XL 4K 2022.
- Then turn the switch on. The air filtration system will turn on automatically so that you can print in an airy environment.
It may take up a few seconds to a minute for the touch panel to light up and for the printer to get ready to print. Once you hear a loud beep, it means the device is ready for use.
To turn off the printer: Click on SHUT DOWN. Make sure to turn off the Phrozen OS interface system in the printer then switch the off button at the back of the 3D printer.
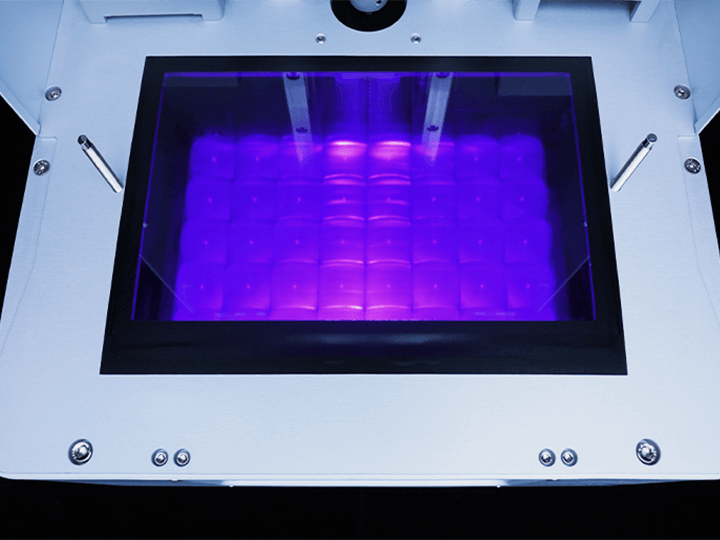
Click here to learn how to perform the LCD test on your Sonic XL 4K 2022 3D printer.