After slicing your dental models, it’s time to test out your first print with the Sonic XL 4K 2022! In this blog post, we’ll go over the optimal settings for your resin 3D printer.
Let’s find out more:
Step 1: Suiting Up
As direct contact with resin may cause allergic reactions, it is advisable to wear PPE (Personal Protective Equipment) masks, goggles, and gloves while printing.
Step 2: Connect to the Internet

To start using the device, connect the printer via ethernet or WiFi.
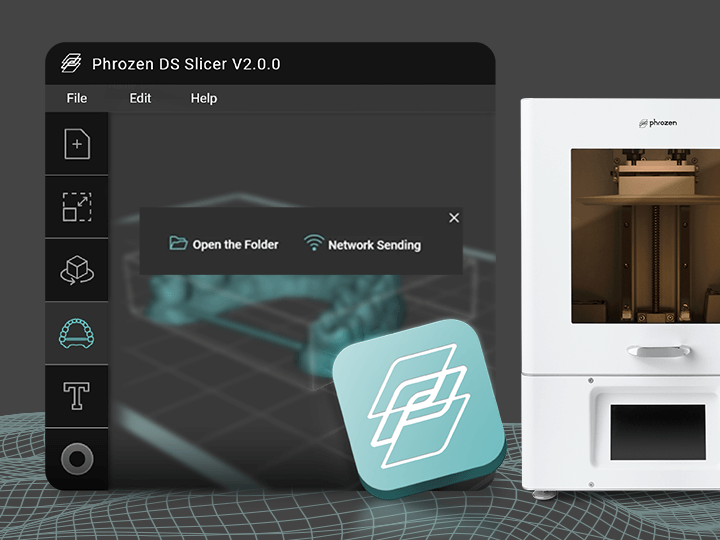
To connect to the internet via WiFi, click on WiFi, then click on Wireless Network, type in your password, then click on connect and OK. Click here to learn how to import your files via Phrozen DS Slicer.
Step 3: Turn on Sonic XL 4K 2022 Heater

To turn on the Heater function, click on the Heater button on the touch panel, then select On. The heater will turn on immediately.
Step 4: Fill the Vat with Resin

Fasten the resin vat and make sure to tighten the screws. Make sure that the surface of the 3D printer and the resin vat are both clean.
Then shake the Water-Washable Dental Model resin evenly for approximately 1 minute before pouring it into the resin vat.
When pouring resin, make sure it does not exceed half the height of the resin vat.
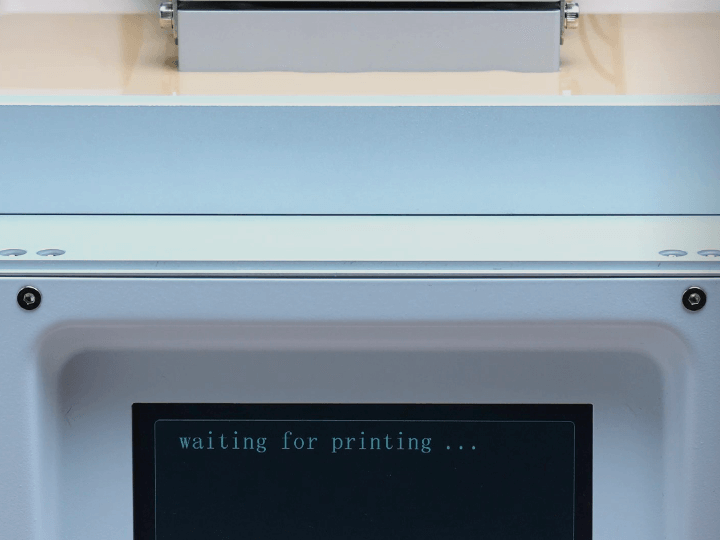
Note: After slicing and importing your models, you are ready to begin printing your dental models.
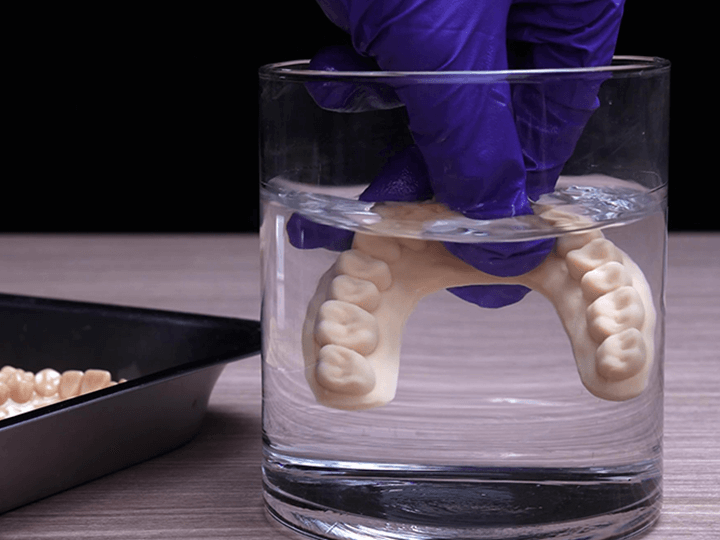
Step 5: Finish Printing
After printing is complete, wait for the building plate to retract to the top before removing the building plate and moving on to post-processing.