Phrozen DS Slicer Software is a premium slicer software that comes with an intuitive user interface so that even dental 3D printing beginners can print out dental models with just a few clicks. In this blog post, we’ll go through how you can set up your dental models on Phrozen DS Slicer to ensure a higher print success rate.
Now, let’s find out how you can effortlessly slice dental models with Phrozen DS Slicer:
Download Your DS Slicer Software

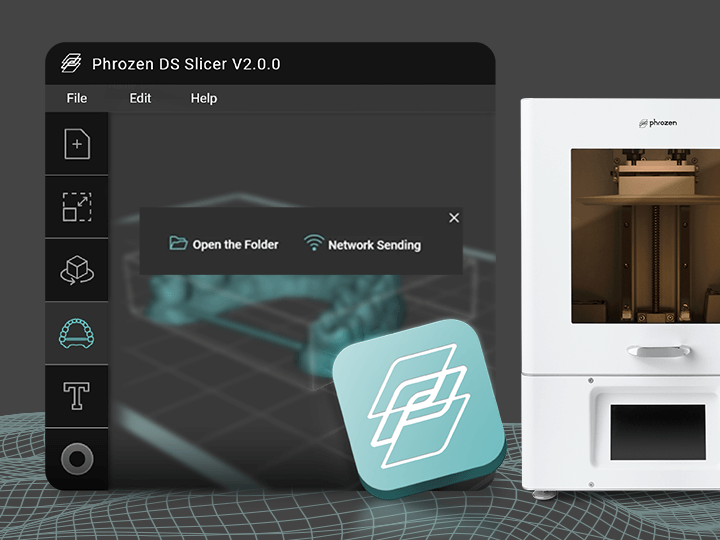
Before we begin, please click here to download your DS Slicer Software. The DS Slicer can be used on all Phrozen dental 3D printers.
The Phrozen DS Slicer comes with a USB dongle security key which has to be inserted into the computer whenever you’re using the DS Slicer, once every 2 weeks. Make sure to keep this dongle safe as Phrozen will not replace it once it has been misplaced.
Setting Up DS Slicer Software
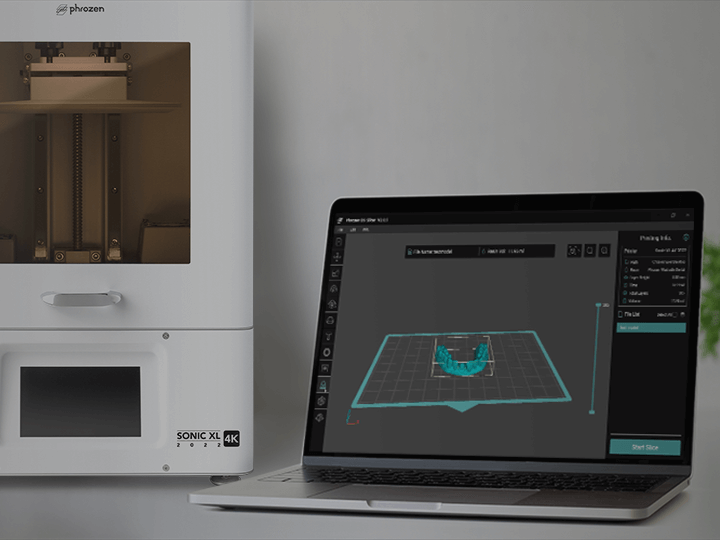
1) Open up DS Slicer Software
2) Select your Printer and Resin and then click on OK

3) Click on Open to select your STL file

Adjust Orientation on DS Slicer

1) To adjust the orientation of your model, click on Turn.
2) To adjust your 3D model so that it lies flat against the building plate, click on Select Base Plate and then click on the bottom of the bottom. Your dental model should be lying perfectly flat against the building plate.
Create Duplicate Copies on DS Slicer

1) Click on Copy
2) Select the number of copies you want to make before clicking on Create.
Adjust Model Layout on DS Slicer

1) Click on Auto Layout.
2) Type in a number to set the Model Gap
3) Choose how your models should be positioned: Center, X Side, or Y Side.
Slice your Models on DS Slicer
1) Click on Settings to Confirm your Printer, Resin, and other details.
2) Then click on Output.

3) Select your folder.
4) Then click on the red X on the upper right-hand corner of the screen so that DS Slicer will slice your file ASAP.
5) After your file has been sliced, click on Save.
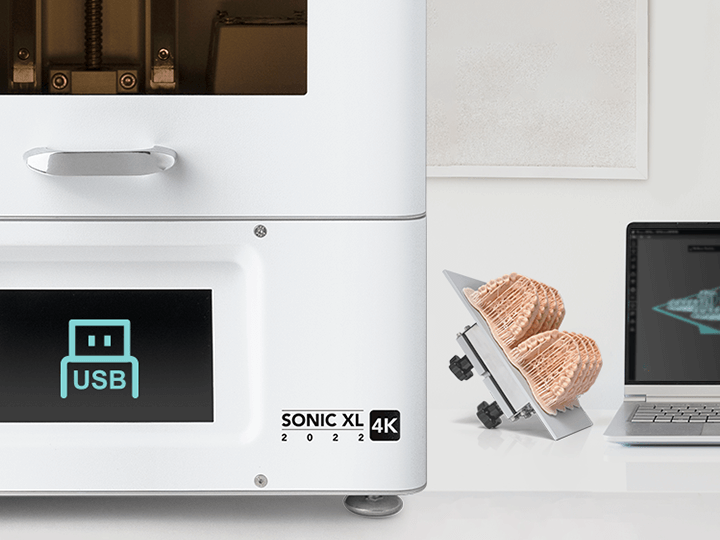
You’re done! You’re now ready to import your file to the Sonic XL 4K 2022 dental 3D printer.