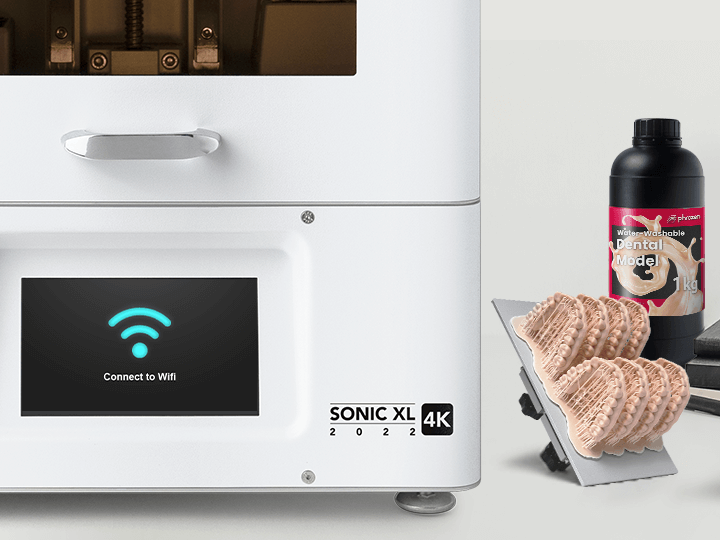
Importing Files via WiFi

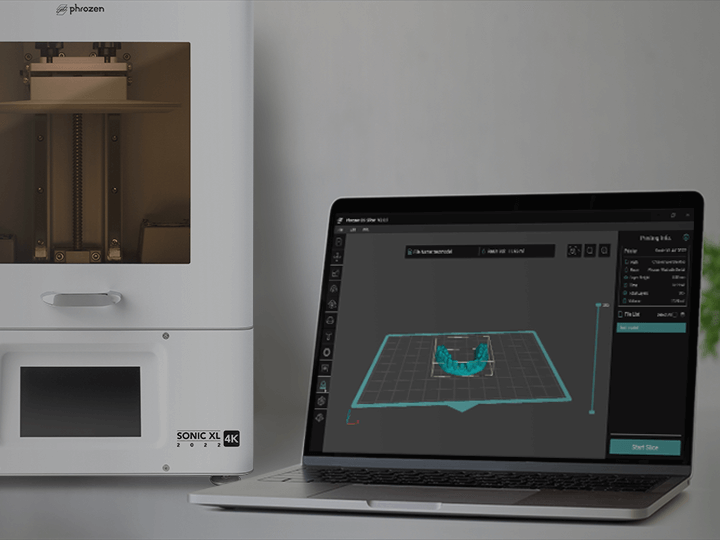
1) After connecting to the Phrozen Sonic XL 4K 2022 3D printer, slice your 3D prints in a slicer software and save it as a .zip file. Then enter Phrozen OS Interface, click PLATES on the top-right corner.
2) Select the file from your device and upload it onto the 3D printer.

3) Click on PRINT to initiate the printing process.
Note:
On this page, you will also see files that have previously been uploaded. Here, you can print out those files, select the resin profiles, or delete the files.
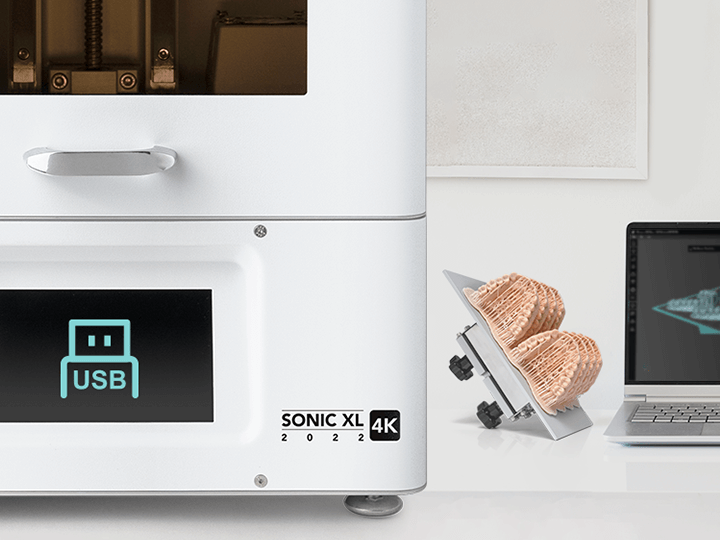
Importing Files via USB
1) After slicing your 3D prints in a slicer software and saving it as a .zip file, you now need to save the file on a USB drive.

2) Plug in the USB drive to the 3D printer. On the printer’s touch panel click on PLATES and then click on the USB icon. Select the 3D print you intend to print.
3) Make sure the resin you have selected is the one you intend on using.(Choose G-Code if you already set the resin parameter inside the DS Slicer software)
4) If it isn’t, toggle through the menu on the touch panel, then click on the checkmark to select the correct resin . After that a pop up will appear. Click on Yes to initiate the printing process.
You can also use Phrozen DS Slicer to import or slice your 3D models. Click here to learn more.