Connect Sonic XL 4K 2022 to Phrozen OS Interface
On the Printer

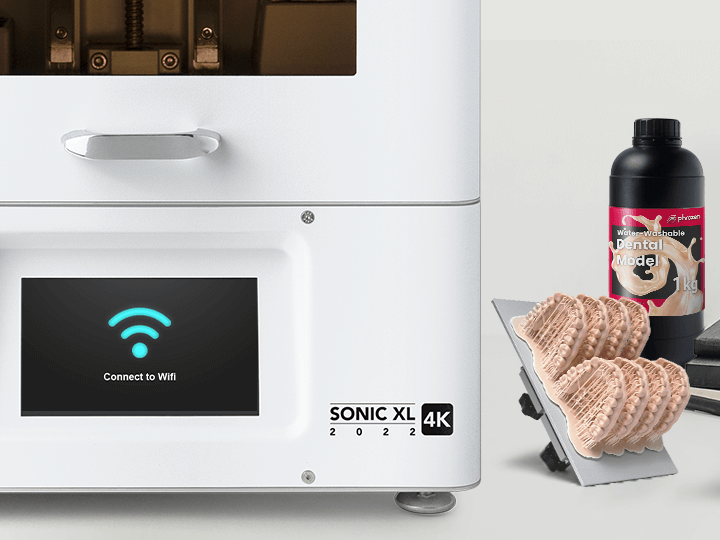
1) On the printer’s touch panel, select the WIFI button. Then make sure to connect to the same WiFi network as your computer or smartphone, or whichever device you intend to use to transfer over your files to the 3D printer. Type in your password, then click on CONNECT.
2) Once the Sonic XL 4K 2022 has successfully connected to the WiFi network, the IP address will be displayed on top of the touch panel.
On the Computer or Smartphone

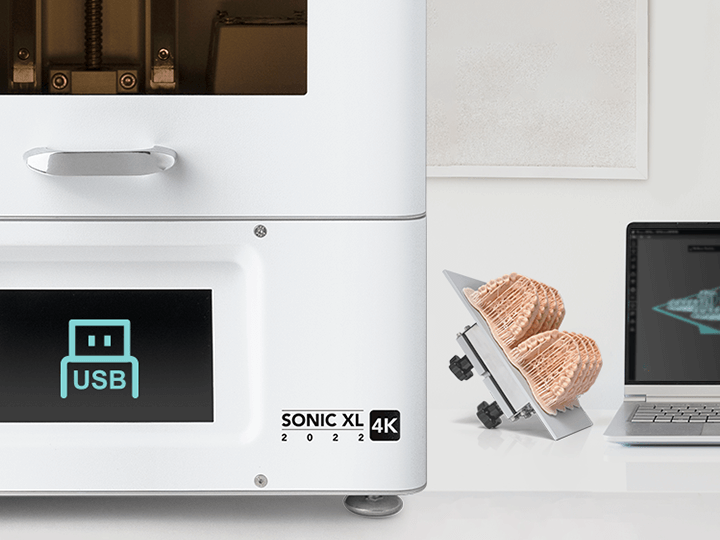
1) Open your web browser on your computer or smartphone, and type in the IP address as shown on the resin 3D printer.

2) You have now successfully entered the Phrozen OS Interface! Now, you can start organizing your 3D files and resin profile settings!
Note:
Please make sure that you are directly connected to the router, mesh WiFi and WiFi extenders will not work.

Adjust Resin Profiles via Phrozen OS Interface on Sonic XL 4K 2022
Via WiFi

1) Once you have entered Phrozen OS Interface, click on PROFILE on the top right corner of the page.
2) Add, adjust, or choose the resin profiles, according to your needs.
Note:
Make sure that the layer height has been set the same way as it was in the slicer software. The LCD 3D printer will not read other settings from the slicer, except for layer height and anti-aliasing.
Please click here to find out how you can import your files to the Sonic XL 4K 2022.