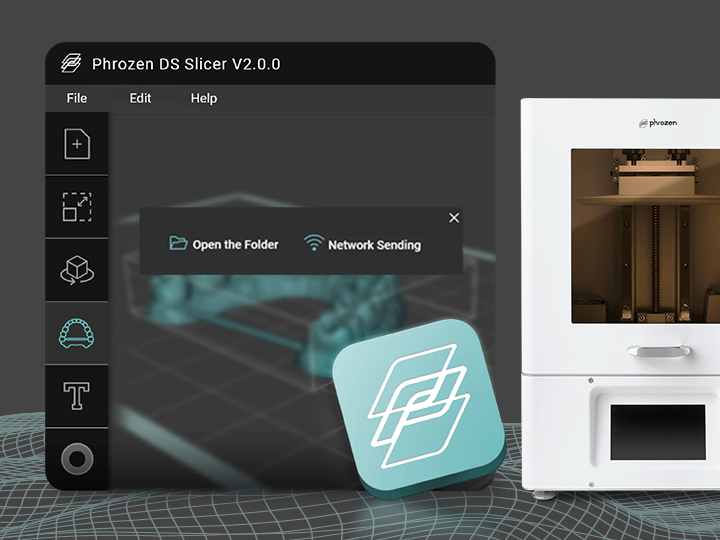
In addition to importing files via Phrozen OS Interface, you can also import files via Phrozen DS Slicer after you’re done slicing your dental 3D models. You’ll be able to import files in two ways: via the Network Sending function, and via USB.
Read on to find out more:
Importing Files Via Network Sending
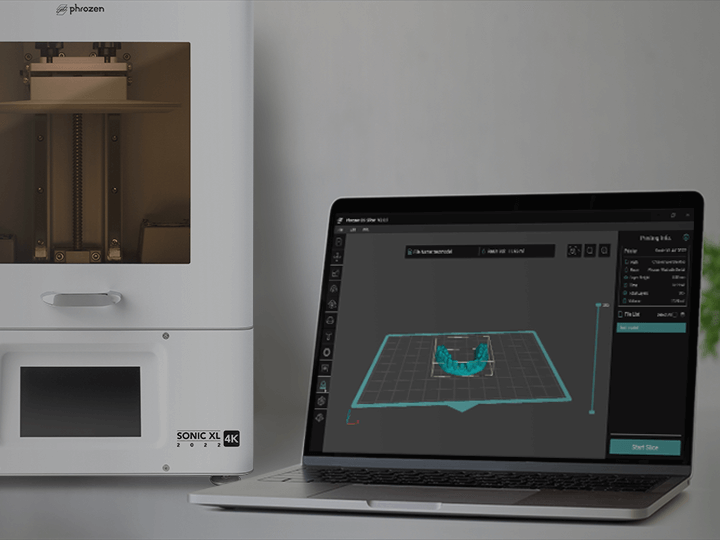
1) On Phrozen DS Slicer, select Network Sending, then type in the IP address of your resin 3D printer.
2) After you’re done, click on Upload. Your IP address should be displayed on the touch panel.
3) Then connect to the Phrozen OS Interface, and select PLATES. Choose the Default Code and then choose Print.

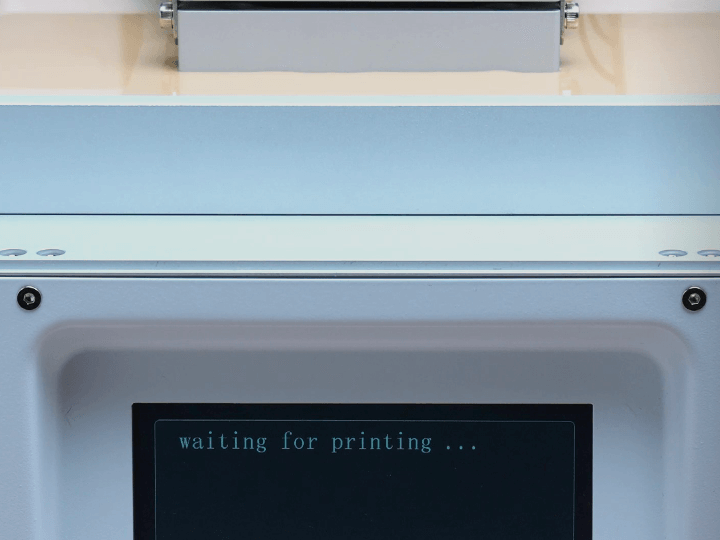
4) The Sonic XL 4K 2022 will automatically begin printing after a 15-second delay.
Importing Files Via USB
1) On Phrozen DS Slicer, select Open the File.
2) Choose your file. Make sure it is saved as a ZIP file, then move it to the outermost folder of the USB.
3) Insert the USB drive onto your 3D printer, then select Print.
4) Click on the USB icon, and choose your 3D ZIP file.
5) Your 3D file will be uploaded onto the printer. Double-check and make sure this is the file you are looking to print.
6) Then click on Yes to begin printing.

7) The Sonic XL 4K 2022 will automatically begin printing after a 15-second delay.
Click here to learn how to print out all your dental models with perfection.